well today we went to a local car rally where our MPV was parked up in an enclosure with all the others from the owners club. At these events I often sit in the sun and make some cards while hubby and son spend hours looking at and taking pictures of cars.
yesterday I came across an old plastic toolbox full of crafting bits from a loong time ago before the days of cuttlebug and cricut machines. It had bits of papers and card. some old shop bought cards, some interesting pieces of wallpaper and packaging, some sticker packs and a few embellishments. So I challenged myself to make some cards with the contents (I threw in a handful of butterflies cut with my new punch which I just couldnt resist and a few base cards, and adhesives).
I was really pleased with the results.
1/ this was made with a blue pearl base card and the border and large panel are pieces from wallpaper. I put a strip of hologram card behind the panel and the flowers were from a bought card that was in the box. I added a couple of butterflies and some rhinestones.

2/ This was made from a bought card which had a large panel of floral pattern and an embossed scalloped border. I used a small cream base card and folded the front panel back on itself. I cut off the scalloped border keeping a very narrow slice of the pattern on it. and placed that against thefolded back edge. I put the floral pattern inside and cut off the excess. With the excess I made a smaller panel and rounded the cvorners with a punch. I then cut round this slightly bigger on white card twice this was taken from the back of a bought card. I attached one white panel to the back of the floral panel and kept one for inside.
After tucking the panel in just behind the scallop border I placed the other panel directly behind it and added some triple layer butterflies.


3/ this is my favourite one. I used a yellow pearly card base and placed the stripy paper across from corner to corner and added a funky stripe border sticker across the centre and another one across the corners. the flower was froma bought card, but I had to cut out the red layer from the base card. the large pink one is cut from a bookatrix embossing board and I was amazed how well the flower fits inside it.

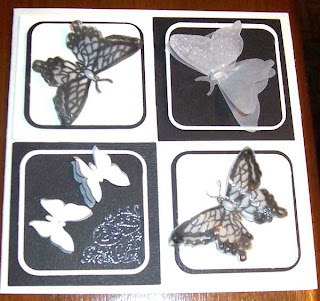
This last one was not part of the challenge. I made it the other day when my new Marth Stewart butterfly punch arrived. I have been wanting this for so long after seeing what Gorgeous cards my American friends were making with them, It took me a while tofind a vender on Ebay who wasnt asking for more than what it is worth just for postage lol.
The border panel was cut with the punch and I added glitter butterflies in some of the spaces.
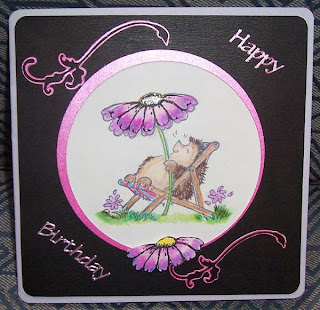
Layered panels with corners rounded. the vine was cut n the Cricut from the Home Accents cartridge. the large buttefly is 3 layered First with the cuttlebug butterfly then with one I got in a shape set from QVC Years ago then finally with the MS butterfly stamped with a pattern and inked for colour.
The second pic shows the 3D effect and the 3rd pic is the inside.


